Referral traffic is an important metric to watch as it sends potentially valuable visitors to the website from trusted websites. Referral traffic also has SEO benefits. Google and other search engines consider these links and social signals as positive ranking factors as long as they are coming from trusted websites.
With UTM tracking, it's also possible to discern which sites and social profiles are generating the most traffic for your website. To identify subscribers specifically, you can use Ghost member labels.
We will explore how to apply labels based on referring links and UTM parameters, but first, let's see what these are.
UTM Parameters
UTM parameters are a simple, straightforward, and reliable way to track traffic online. They're not affected by changes to third-party cookies and they work with Google Analytics.
An example link with UTM params:
https://yoursite.com/a-post-link?utm_medium=social&utm_source=twitter&utm_campaign=daily-posts
In this case, the UTM parameters are everything that comes after the question mark. There are five different UTM parameters:
utm_source- Campaign source (twitter, facebook, etc)utm_medium- Campaign medium (social, paid_social, etc)utm_campaign- Campaign name (free_trial, summer_sale, etc)utm_term- Campaign term (to track keywords)utm_content- content (to differentiate different content)
Generate member labels
Ghost member labels are ideal for segmenting your members, labels can be applied from the member dashboard or from the subscribe form on your site. This means you can define specific labels or add them dynamically based on certain parameters.
First, let's define the URL params we want to track:
const labels = ['utm_source', 'utm_medium', 'utm_campaign', 'utm_id', 'ref'];
Next, we have to check if the URL contains any of those params:
const urlParams = new URLSearchParams(window.location.search);
labels.forEach((label) => {
  if (urlParams.has(label)) {
    // label found, we have to add this to the form
  }
});
The final step is generating the corresponding labels on forms, so when a user subscribes, the labels will be visible in your Ghost admin. Here's a function that will do just that:
function addInputLabel(labelValue) {
  const subscribeForms = document.querySelectorAll('.subscribe-form');
  let labelInput = document.createElement('input');
  labelInput.setAttribute('data-members-label', '');
  labelInput.setAttribute('type', 'hidden');
  labelInput.setAttribute('value', labelValue);
  subscribeForms.forEach((form) => {
    form.appendChild(labelInput.cloneNode(true));
  });
}
Let's break down this function to understand what's happening:
- First, we are looking for all the subscribe forms on the current page (you might
have different CSS classes so you can adjust the
.subscribe-formaccordingly) - Create a new input element inside the form and apply the relevant attributes.
(
data-members-labelmust be present for this to work, and thelabelValuewill be passed to the function) - The last step is appending the created input to the subscribe forms on the page.
Here's the code in its entirety:
<script>
  const labels = ['utm_source', 'utm_medium', 'utm_campaign', 'ref'];
  const urlParams = new URLSearchParams(window.location.search);
  labels.forEach(label => {
    if (urlParams.has(label)) {
      addInputLabel(`signup-${label}=${urlParams.get(label)}`);
    }
  });

  function addInputLabel(labelValue) {
    const subscribeForms = document.querySelectorAll('.subscribe-form');
    let labelInput = document.createElement('input');
    labelInput.setAttribute('data-members-label', '');
    labelInput.setAttribute('type', 'hidden');
    labelInput.setAttribute('value', labelValue);
    subscribeForms.forEach(form => {
      form.appendChild(labelInput.cloneNode(true));
    });
  }
</script>
Analyze the results in Ghost Admin
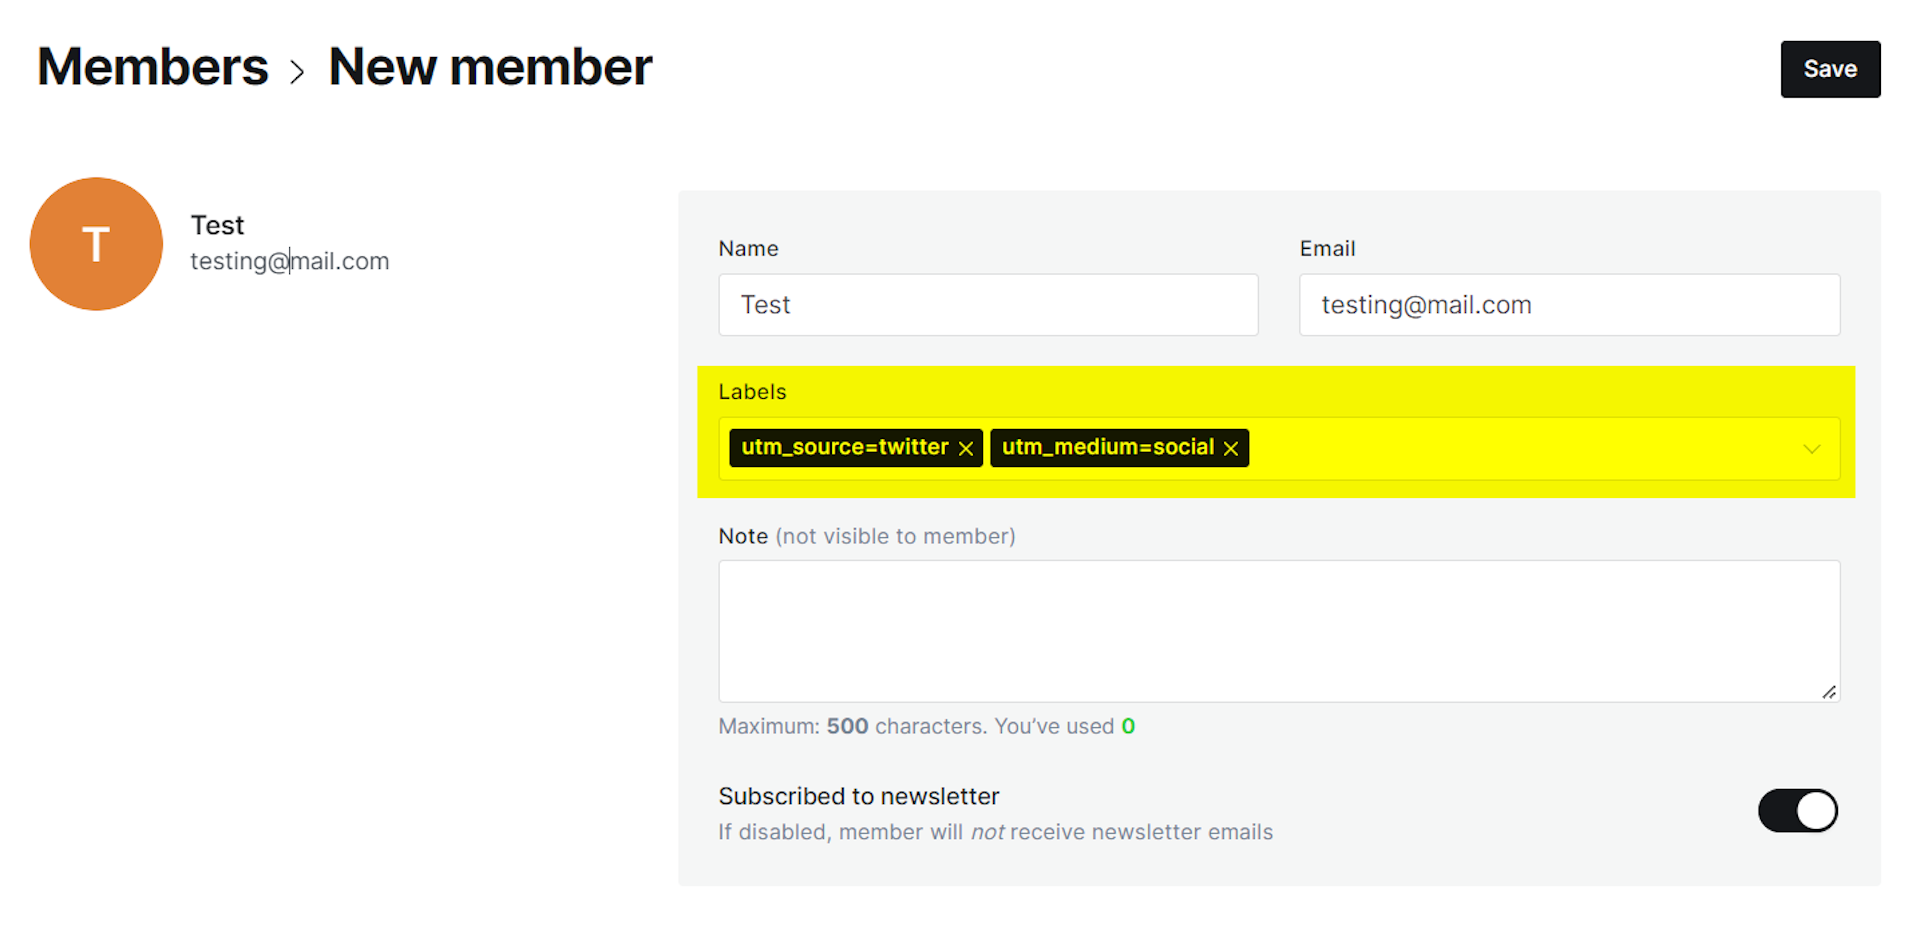
When the previous step is done, and you have new subscribers from referral links
or UTM traffic those labels should be visible by opening Members section in Ghost
Admin and clicking on your member:

You can also filter members based on labels in the Members section. Additionally, you can even send newsletters targeted directly to those members. This can be done by selecting 'Specific people' when publishing your newsletter, then in the 'Selection', you have to choose the label(s) you want to target.