Little things can make a big difference. Your website navigation is a great example. The navigation structure and UX have a huge impact on conversions and bounce rates. Clear, hierarchical website navigation will help your visitors find what they want and provide a great user experience.
In Ghost CMS, you can define your menu items in the Admin area by going to Settings > Navigation
There you have a primary and secondary navigation section, and these are rendered using a built-in helper {{navigation}}.
The navigation helper & properties
The {{navigation}} helper outputs a formatted HTML of menu items defined in the Ghost admin panel.
the default navigation template:
<ul class='nav'>
  {{#foreach navigation}}
    <li class='{{link_class for=(url) class=(concat 'nav-' slug)}}'><a
        href='{{url absolute='true'}}'
      >{{label}}</a></li>
  {{/foreach}}
</ul>
As you can see some special attributes can be used within the {{#foreach navigation}} loop of this template to help with formatting.
The available attributes:
{{label}}- The text to display for the link{{url}}- The URL to link to{{current}}- Boolean true / false - whether the URL matches the current page{{slug}}- Slugified name of the page, eg contact-us.
Outside of the navigation helper, you have some global attributes to check whether there are any items defined:
{{#if @site.navigation}}
  {{! Render primary menu or button }}
{{/if}}

{{#if @site.secondary_navigation}}
  {{! Render secondary menu or button }}
{{/if}}
As you can see, Ghost uses the same template for both primary and secondary navigation, but it's possible to render them differently.
Changing the navigation template
In case you want to make a custom navigation layout, maybe a fixed menu, or you simply want to render it differently,
then you have to overwrite the default template.
This can be done by creating a new file in your theme in the partials directory called navigation.hbs.
If such a file exists, Ghost will load it instead of the default template.
For a different secondary navigation you can add the following check in the template:
{{#if isSecondary}}
  {{! Template for secondary navigation }}
{{else}}
  {{! Template for primary navigation }}
{{/if}}
Modifying the {{navigation}} helper you are not limited to render only the items defined in the admin area,
you can add any valid HTML to this template. An advanced use case would be adding a mega menu or dropdown menu for your site.
Ghost doesn't support this feature, so the only possibility (without using javascript) would be to add the HTML markup in this template.
Adding icons to your navigation items
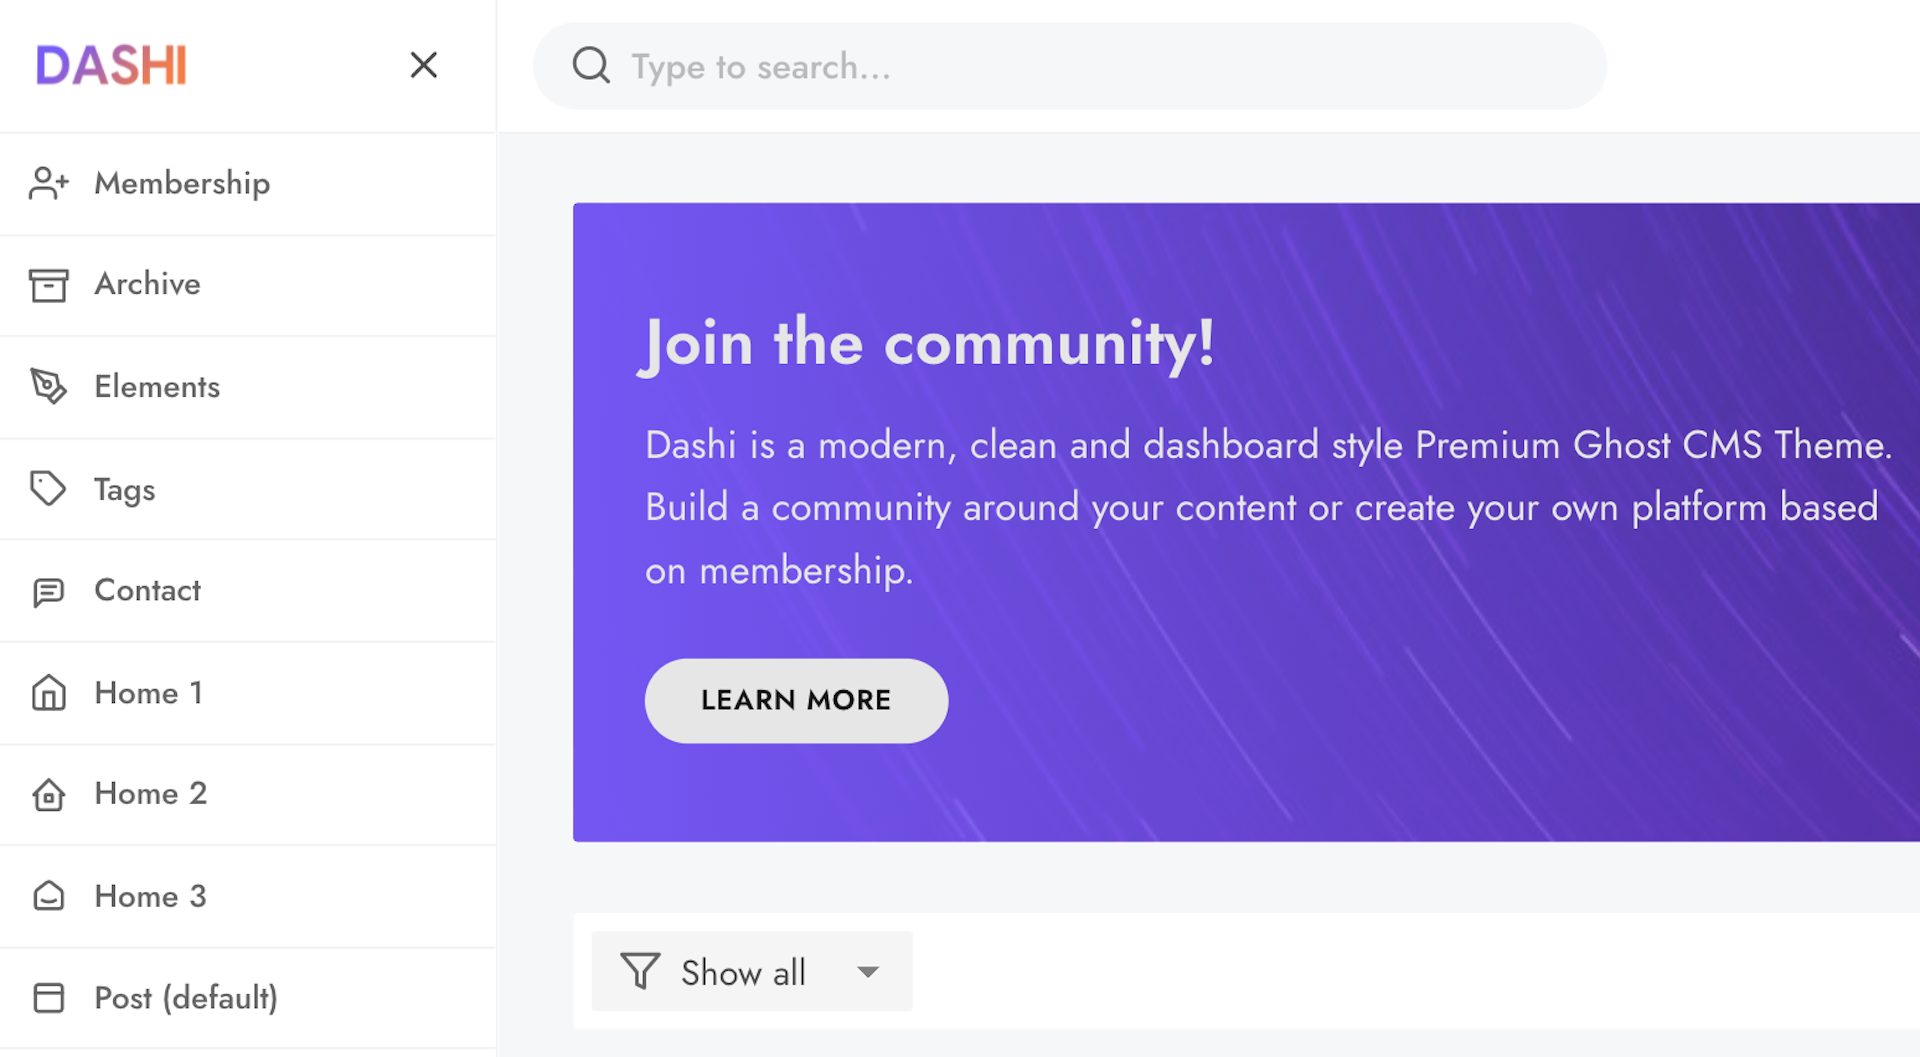
Another use case could be, if you want to add icons to your navigation items dynamically, as we did for our Dashi theme. What we need for this, before customizing the navigation helper, is to add an icon sprite(svg) to our Ghost theme. This SVG sprite has to contain all icons we need for our navigation items.
The code for the navigation would look like this:
{{#foreach navigation}}
  <li class='nav-{{slug}}' role='menuitem'>
    <a href='{{url}}'>
      <svg class='icon-svg'>
        <use xlink:href='{{asset "menu-icons.svg"}}#{{slug}}'></use>
      </svg>
    </a>
  </li>
{{/foreach}}
This code assumes you have a file named menu-icons.svg in the assets directory. (example of SVG sprite from feathericons)
SVG sprites contains <symbol> elements with different ids.
Caution
Important is that your navigation items' slug has to match a symbol element id.
Make sure to check your menu slugs and create/rename the corresponding icons in your SVG.
Here is how the result looks in the Dashi theme:

This guide does not provide styling for the icons/svg so make sure you apply at least width and height for the .icon-svg class.